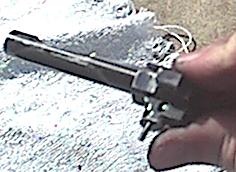
| To reinstall
the firing pin line it up with bolt as shown in
Fig 1 below. Make sure the extractor pinhole is
on top and the firing retainer pinhole is on the
bottom. Position the firing pin as shown in Fig
2 below, make sure the less tapered part is facing
downwards as shown. Now slide the firing pin into
the bolt carefully making sure it stays with the
non-tapered end facing downwards. If you did it
correctly the firing retainer pinhole should be
clear of obstructions as show in Fig 3.(NOTE: If
you are having trouble study the drawings, make
sure the less tapered part on the front of the firing
pin if facing downwards, it must be like this so
the firing retainer pin can hold it in place.) |
 |
| Once
you have the firing pin correctly in place, carefully
take the firing retainer pin and insert it into
the pinhole. Using your thumb, while at the same
time making sure you do not tip the bolt, press
the pin in until it is flush with the out side of
the bolt. Next take the pin punch and press the
pin in even further until it will not go any further.
You have now successfully reassembled the bolt.
(NOTE: If the pin wont go in make sure you installed
the extractor pin correctly with the angled portion
allowing room for the firing retainer pin.) If every
thing went smoothly tip to bolt up on its end, the
firing pin should not fall out. |
 |
| You have
now completed this tutoral.
Click here to go back to page 1 |
